Add Custom Settings to Gravity Forms Submit Button
The Gravity Forms documentation covers adding custom settings to regular fields well enough, but the submit button is a different beast. Custom options on the submit button consistently trip people up because the data lives in a different place on the form object than regular field data does.
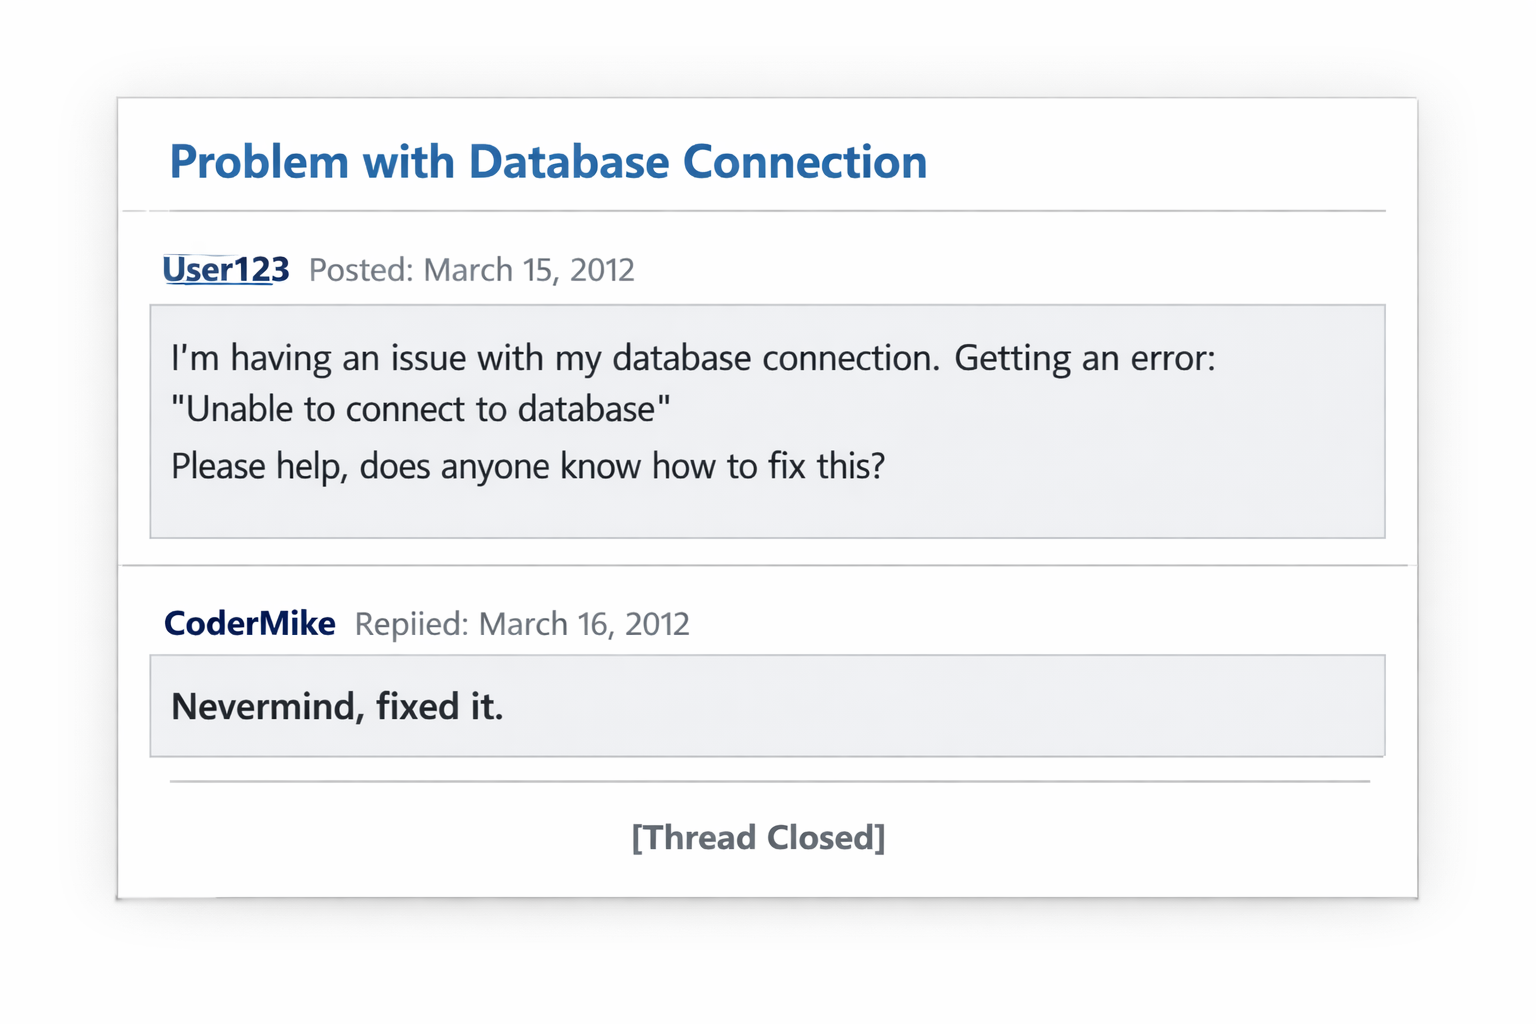
Gravity Forms documentation doesn't really spell that out, and even when you dig into the forum was like that meme where you have the same question as someone years ago. They solved their issue but only ever posted "fixed it" so you're still out of luck.
Instead of leaving you hanging, here is the tutorial I needed to solve the problem.
What We Needed
For the platform I work on, we let users change the base colours of their site with the Customizer but until today we didn't have a way to define anything for buttons. We specifically needed a way to define a call to action colour that could be applied to a number of different buttons.
Most of the work was easy, until we got to the Gravity Forms submit button.
How Gravity Forms Field Settings Work
Before diving into code, it's worth understanding how it works.
When the form editor loads, Gravity Forms generates a JavaScript object called fieldSettings whose keys are field types:
fieldSettings = {
    "submit": ".conditional_logic_submit_setting, .submit_text_setting, ...",
    "text": ".label_setting, .description_setting, ...",
    // etc.
};
Each value is a comma-separated list of CSS class selectors. When a user clicks a field in the editor, GF runs roughly this:
jQuery(".field_setting").hide();        // hide everything
jQuery(fieldSettings[field.type]).show(); // show only what belongs
So for a custom setting to appear on the submit button, two things must both be true:
- Your
<li>element has both your custom CSS class and thefield_settingclass. - Your custom CSS class has been appended to
fieldSettings.submitbefore GF runs its show/hide logic.
Where Submit Button Data Lives
This is where I had issues, and the documentation doesn't provide answers.
For regular fields, custom data is stored directly on the field object (field.myCustomProp). The gform_load_field_settings JavaScript event gives you field and form as arguments, and you read from field.
The submit button is different. All it's data is stored under form.button:
form.button.text      // button label
form.button.type      // "text" or "image"
form.button.width     // "auto" or "full"
// your custom prop:
form.button.actionButton
If you read field.actionButton you'll always get undefined. You have to read form.button.actionButton.
The same applies on the PHP side when the front end renders. The data comes through as $form['button']['actionButton'], not $form['actionButton'].
The PHP: Render the Setting
Use gform_field_appearance_settings to inject your <li> into the Appearance tab. The second argument is a position; 50 places it in the middle of the tab alongside the existing submit settings.
function my_action_button_form_setting( $placement, $form_id ) {
    $form = GFAPI::get_form( absint( $form_id ) );

    if ( $placement == 50 ) { ?>
        <li class="action_setting field_setting">
            <input
                type="checkbox"
                id="actionButton"
                onclick="window.form.button.actionButton = this.checked;"
                <?php checked( (bool) rgar( $form['button'], 'actionButton' ), true ); ?>
            />
            <label for="actionButton" style="display:inline;">
                <?php _e( 'Action Button', 'your-text-domain' ); ?>
            </label>
        </li>
    <?php }
}
add_filter( 'gform_field_appearance_settings', 'my_action_button_form_setting', 10, 2 );
A few things worth noting here:
GFAPI::get_form()retrieves the saved form object so you can read any previously saved value on page load.rgar( $form['button'], 'actionButton' )safely reads the nested key without triggering a PHP notice if it doesn't exist yet.rgaris GF's own helper for exactly this.checked()is the standard WordPress helper that echoeschecked="checked"when the value is truthy.- The
onclickhandler writes directly towindow.form.button— GF's global form object in the editor. This is how GF itself persists submit button changes; it saves the entireformobject when the user clicks Save Form.
The JavaScript: Register the Setting and Load Its Value
Two things need to happen in JavaScript, both inside gform_editor_js:
function my_editor_script() { ?>
    <script type='text/javascript'>
        // 1. Tell GF to show .action_setting when the submit button is selected.
        fieldSettings.submit += ", .action_setting";

        // 2. Populate the checkbox when the submit button is clicked in the editor.
        jQuery(document).on("gform_load_field_settings", function(event, field, form) {
            if (field.type === 'submit') {
                jQuery('#actionButton').prop(
                    'checked',
                    Boolean( rgar(form.button, 'actionButton') )
                );
            }
        });
    </script>
<?php }
add_action( 'gform_editor_js', 'my_editor_script' );
The fieldSettings.submit += line is critical. Without it, the JS hide/show logic will never reveal your <li> no matter what you do to the HTML. The setting exists in the DOM; your form just never shows it.
The field.type === 'submit' guard is important too. The gform_load_field_settings event fires for every field click in the editor, not just the submit button. Without the guard you'd be trying to read form.button when form may not have a button key at all.
The JavaScript rgar function mirrors the PHP one — it safely reads a property from an object and returns an empty string rather than throwing if the key is absent.
The Front End: Apply the Setting
function my_apply_action_button_color( $button, $form ) {
    if ( is_admin() ) {
        return $button;
    }

    if ( isset( $form['button']['actionButton'] ) && $form['button']['actionButton'] ) {
        $bg_color   = get_theme_mod( 'color_action_button', '#e49c11' );
        $text_color = my_contrast_color( $bg_color );

        $style = '<style type="text/css">
            .gform_button.button {
                background-color: ' . $bg_color . ' !important;
                border-color: ' . $bg_color . ' !important;
                color: ' . $text_color . ' !important;
            }
        </style>';

        return $style . ' ' . $button;
    }

    return $button;
}
add_filter( 'gform_submit_button', 'my_apply_action_button_color', 10, 2 );
Automatic Text Contrast
If you're applying a user-chosen background colour you should also set the text colour automatically. Yes I could have added another colour picker to the Customizer and asked the user to pick a contrasting text colour, but I'd rather take it out of their hands so we can preserve accessibility. This function uses the WCAG relative luminance formula to pick black or white depending on which gives better contrast:
function my_contrast_color( $hex ) {
    $hex = ltrim( $hex, '#' );

    $r = hexdec( substr( $hex, 0, 2 ) ) / 255;
    $g = hexdec( substr( $hex, 2, 2 ) ) / 255;
    $b = hexdec( substr( $hex, 4, 2 ) ) / 255;

    // Linearise each sRGB channel (undo gamma encoding).
    $r = $r <= 0.03928 ? $r / 12.92 : pow( ( $r + 0.055 ) / 1.055, 2.4 );
    $g = $g <= 0.03928 ? $g / 12.92 : pow( ( $g + 0.055 ) / 1.055, 2.4 );
    $b = $b <= 0.03928 ? $b / 12.92 : pow( ( $b + 0.055 ) / 1.055, 2.4 );

    // Relative luminance per WCAG 2.x.
    $luminance = 0.2126 * $r + 0.7152 * $g + 0.0722 * $b;

    // > 0.179 is the midpoint: above it the colour reads as light, use dark text.
    return $luminance > 0.179 ? '#000000' : '#ffffff';
}
The weighting coefficients (0.2126, 0.7152, 0.0722) reflect human perception — eyes are most sensitive to green and least sensitive to blue. The threshold 0.179 is the luminance midpoint on the WCAG scale.
What Goes Wrong Without This
The most common failure mode is a setting that's present in the HTML but invisible — you can confirm it exists by opening DevTools and finding a display: none on your <li>. That means fieldSettings.submit += either didn't run or didn't run before GF's show/hide logic did. Check for a JavaScript syntax error anywhere in the same <script> block; a single mismatched bracket will silently prevent the whole block from executing.
Note: You see this note above because I killed far too much time figuring out the jQuery properly to show the field.
The second common failure is saved data not persisting. That's almost always because the onclick is writing to field.myProp instead of form.button.myProp, or the PHP check is reading $form['myProp'] instead of $form['button']['myProp'].


Gravity Forms has decent documentation, but it was missing any good information on how to save an option with the submit button.